Which number do I carry over?
Where does it go again?
I don’t get it!
That’s the chorus you often hear when trying to teach subtraction with regrouping. But there’s an easier way to help students understand.
This step-by-step activity for teaching regrouping uses manipulatives to make the concept hands-on and intuitive. Work it into your lesson plans and watch as learners discover that it’s really not so hard after all!
What your students should already know
Make sure your students have a sound understanding of place value first. They’ll need to understand that in a two-digit number, the left-hand digit represents lots of ten, and the right-hand digit represents ones.
What each student will need
- A3 paper and a crayon for each student
- countable manipulatives (tokens, bottle caps, cut-out pieces of card, anything small)
- 2–3 small envelopes
Process
Step 1
Have each student draw two large boxes on their sheet of paper. To represent the different place values, label the left-hand box “tens”, and the right-hand box “ones”.
Step 2
Explain to students that each countable piece has a value of one, so they’ll need to create lots of 10 to go in the tens column. Ask, “How can we create a lot of 10?”, and see if they can independently decide to count out 10 pieces and put them into one of the envelopes (you might need to drop a few hints).
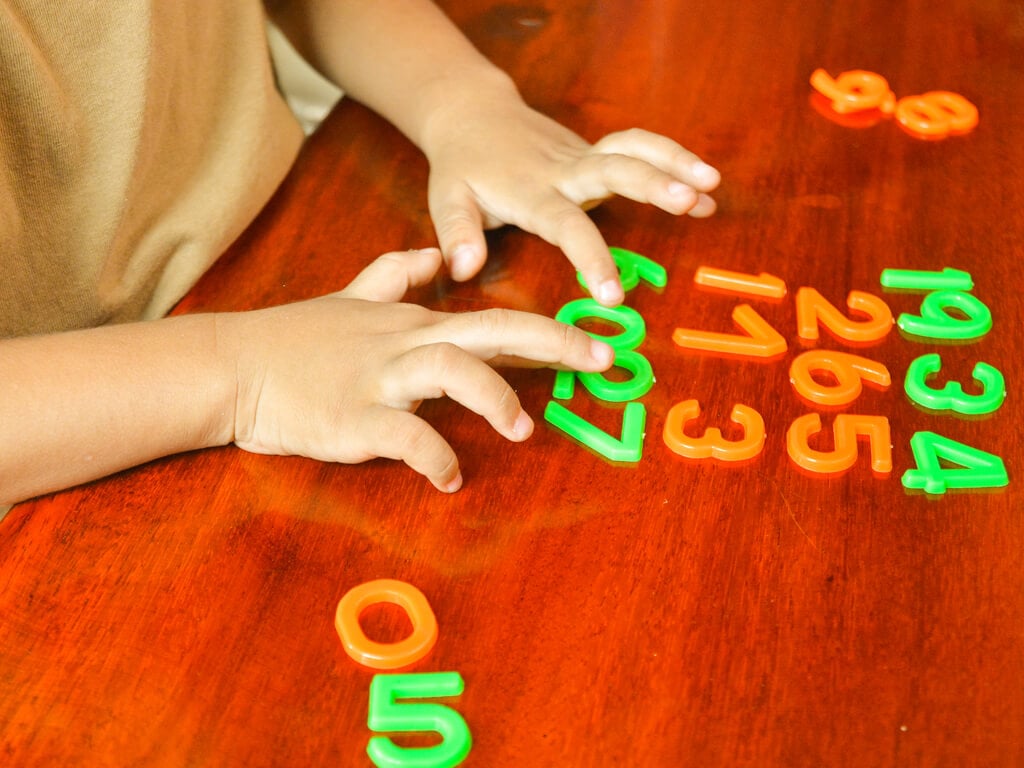
Step 3
Write a two-digit number on the board and have students create it by placing manipulatives into the appropriate place value column. So 27, for example, would have seven individual pieces in the “ones” column, and two envelopes of 10 in the tens column.
Step 4
Now, minus a number and write the full number sentence on the board (e.g. 27 – 9). Tell students to find the answer by subtracting 9 from the manipulatives they have in front of them. Give them some think time and see what they do.
Step 5
Students will first take away the 7 available pieces in the “ones” column, and then be left wondering where they find another 2 to subtract. Use a little bit of prompting here and ask, “Where else could we find some extra ones?”
Step 6
Eventually, students will realize they can get the extra ones out of one of the envelopes. But now ask, “How many are left in the envelope?” When they tell you 8, say, “It’s not a ten anymore, is it? So where should we put this eight?”
Step 7
If they need some extra prompting, guide students to empty the remaining 8 pieces in the envelope into the “ones” column. Now they’ll have 18 in front of them – a solution has been found!
Moving into numbers
After you’ve repeated this activity a few times with larger numbers, model what regrouping looks like when written down. Then you can encourage students to start writing each step as they move through the problems. With practice, they’ll start to rely less heavily on the manipulatives and find the solution through numbers alone.
Need more help teaching elementary math?
Check out how to teach addition, how to teach multiplication, or explore the range of printable mathematics resources in our Help Hub by clicking the link below.
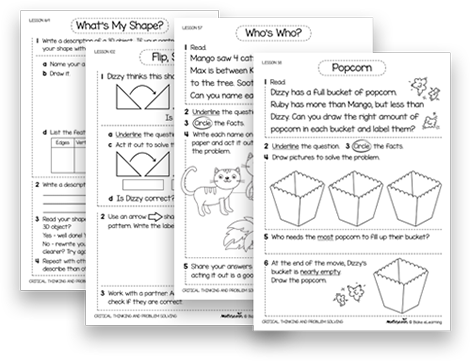
Download printable resources for elementary math